Four layers, one picture
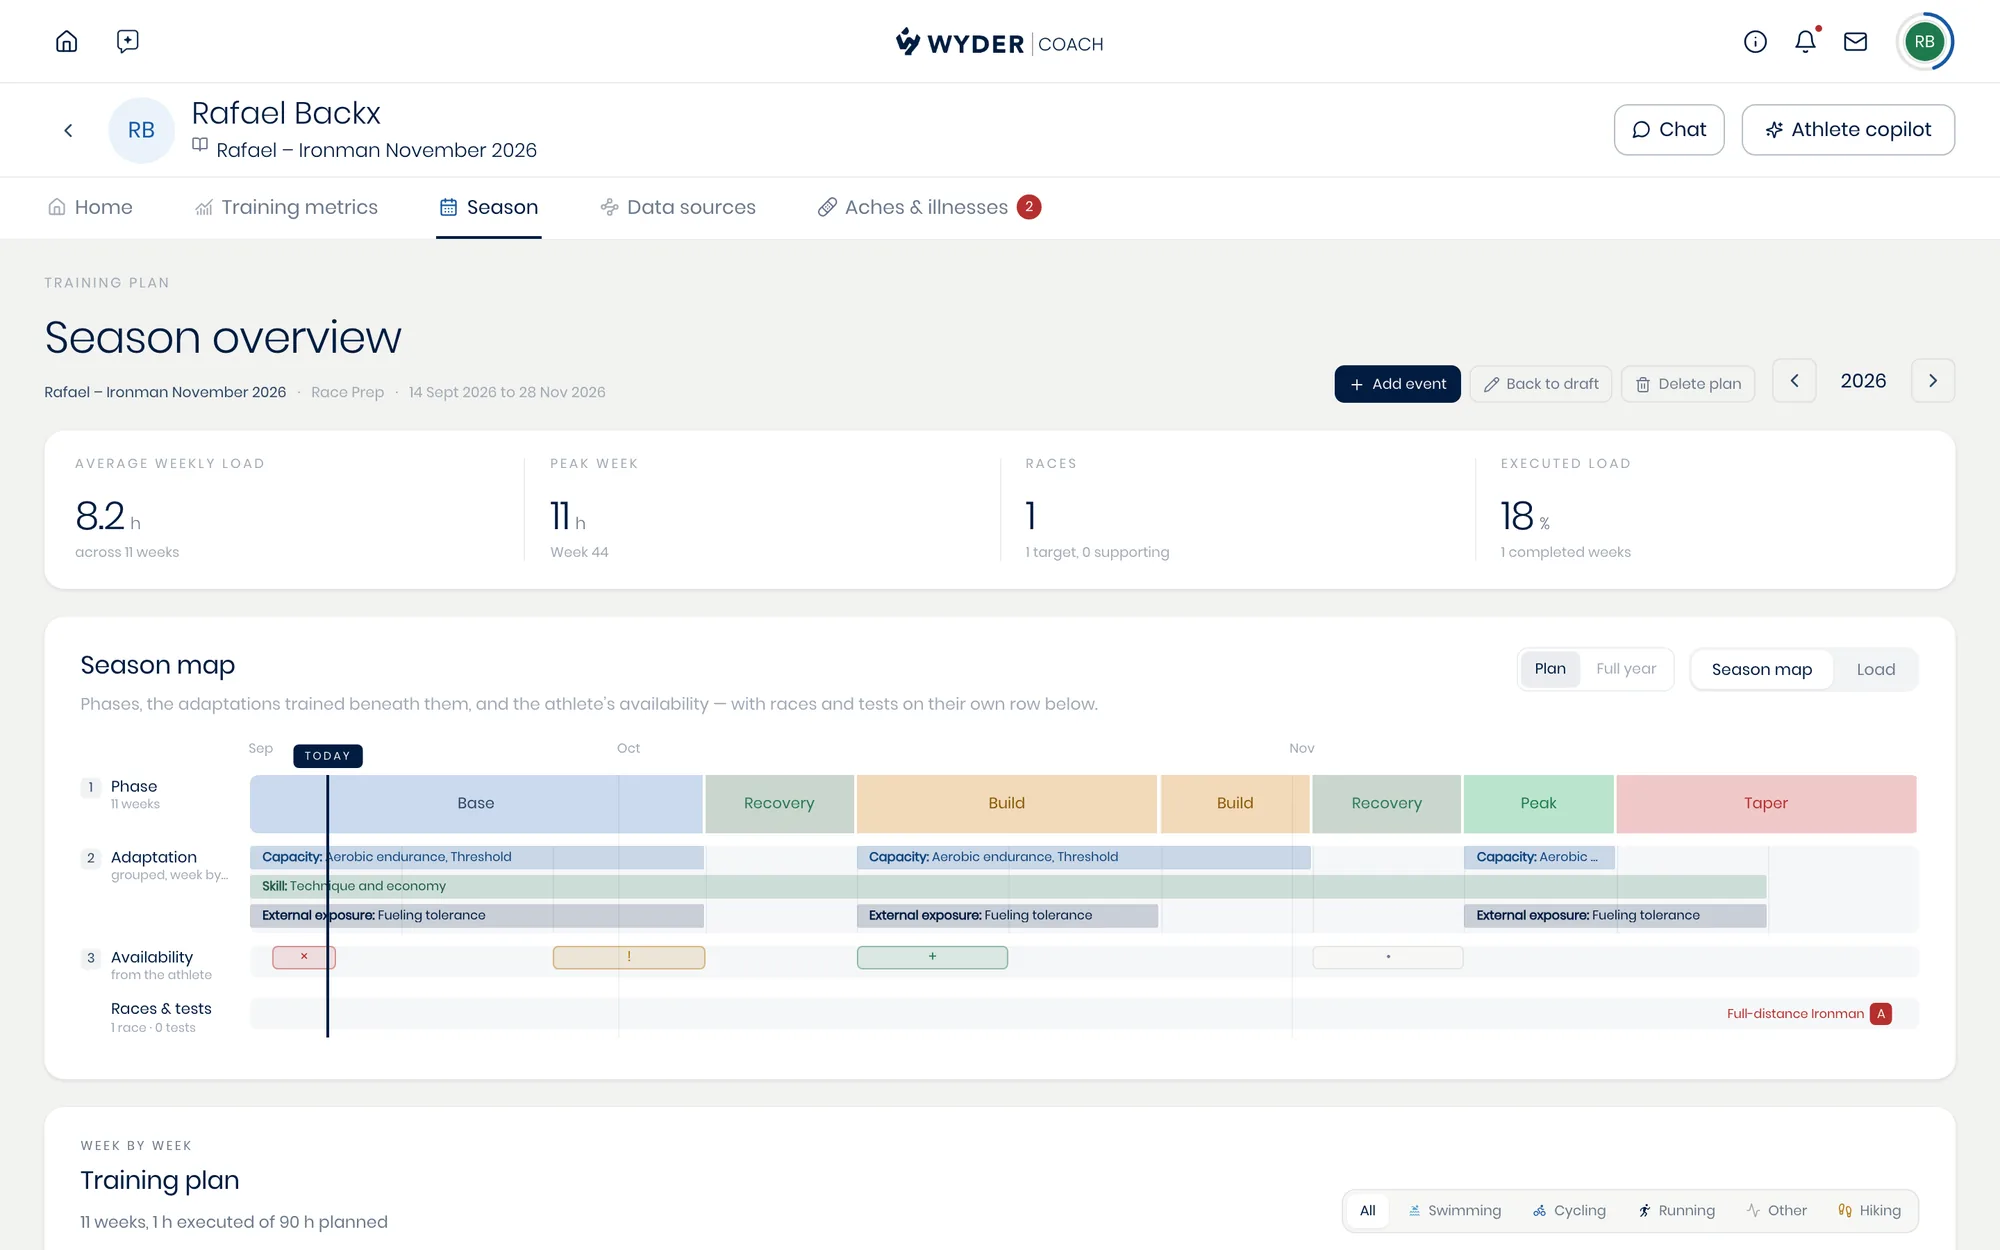
An athlete's Season tab opens on the Season map, which stacks the season into rows so you can look down a single week and see everything that shapes it:
- Phase tells you which block the week belongs to.
- Adaptation is what that stretch of training is actually trying to develop, grouped into families (see Planning a week).
- Availability is what the athlete has told Wyder about their own calendar, so a work trip or a holiday shows up against the plan instead of surprising you later.
- Races & tests runs underneath on its own row, with each event marked by its priority.
Hover over anything on the map to see the detail behind it, and click a week to jump straight to it in the list below.
Plan and Full year decide how much of the calendar you see: Plan fits the plan to the full width, Full year puts it back in the context of the whole year, which is where a gap between plans or a quiet off-season becomes visible. The arrows beside the year in the header move you between seasons, so last year's block is one click away when you're planning this one.
What you planned, against what happened
Switch the same card to Load to see the numbers behind the map: one point per plan week, planned against executed, with the phases as coloured bands behind them and races marked below the axis. The strip above both views sums the season up in four figures, including how much of the load you planned the athlete has actually done so far.
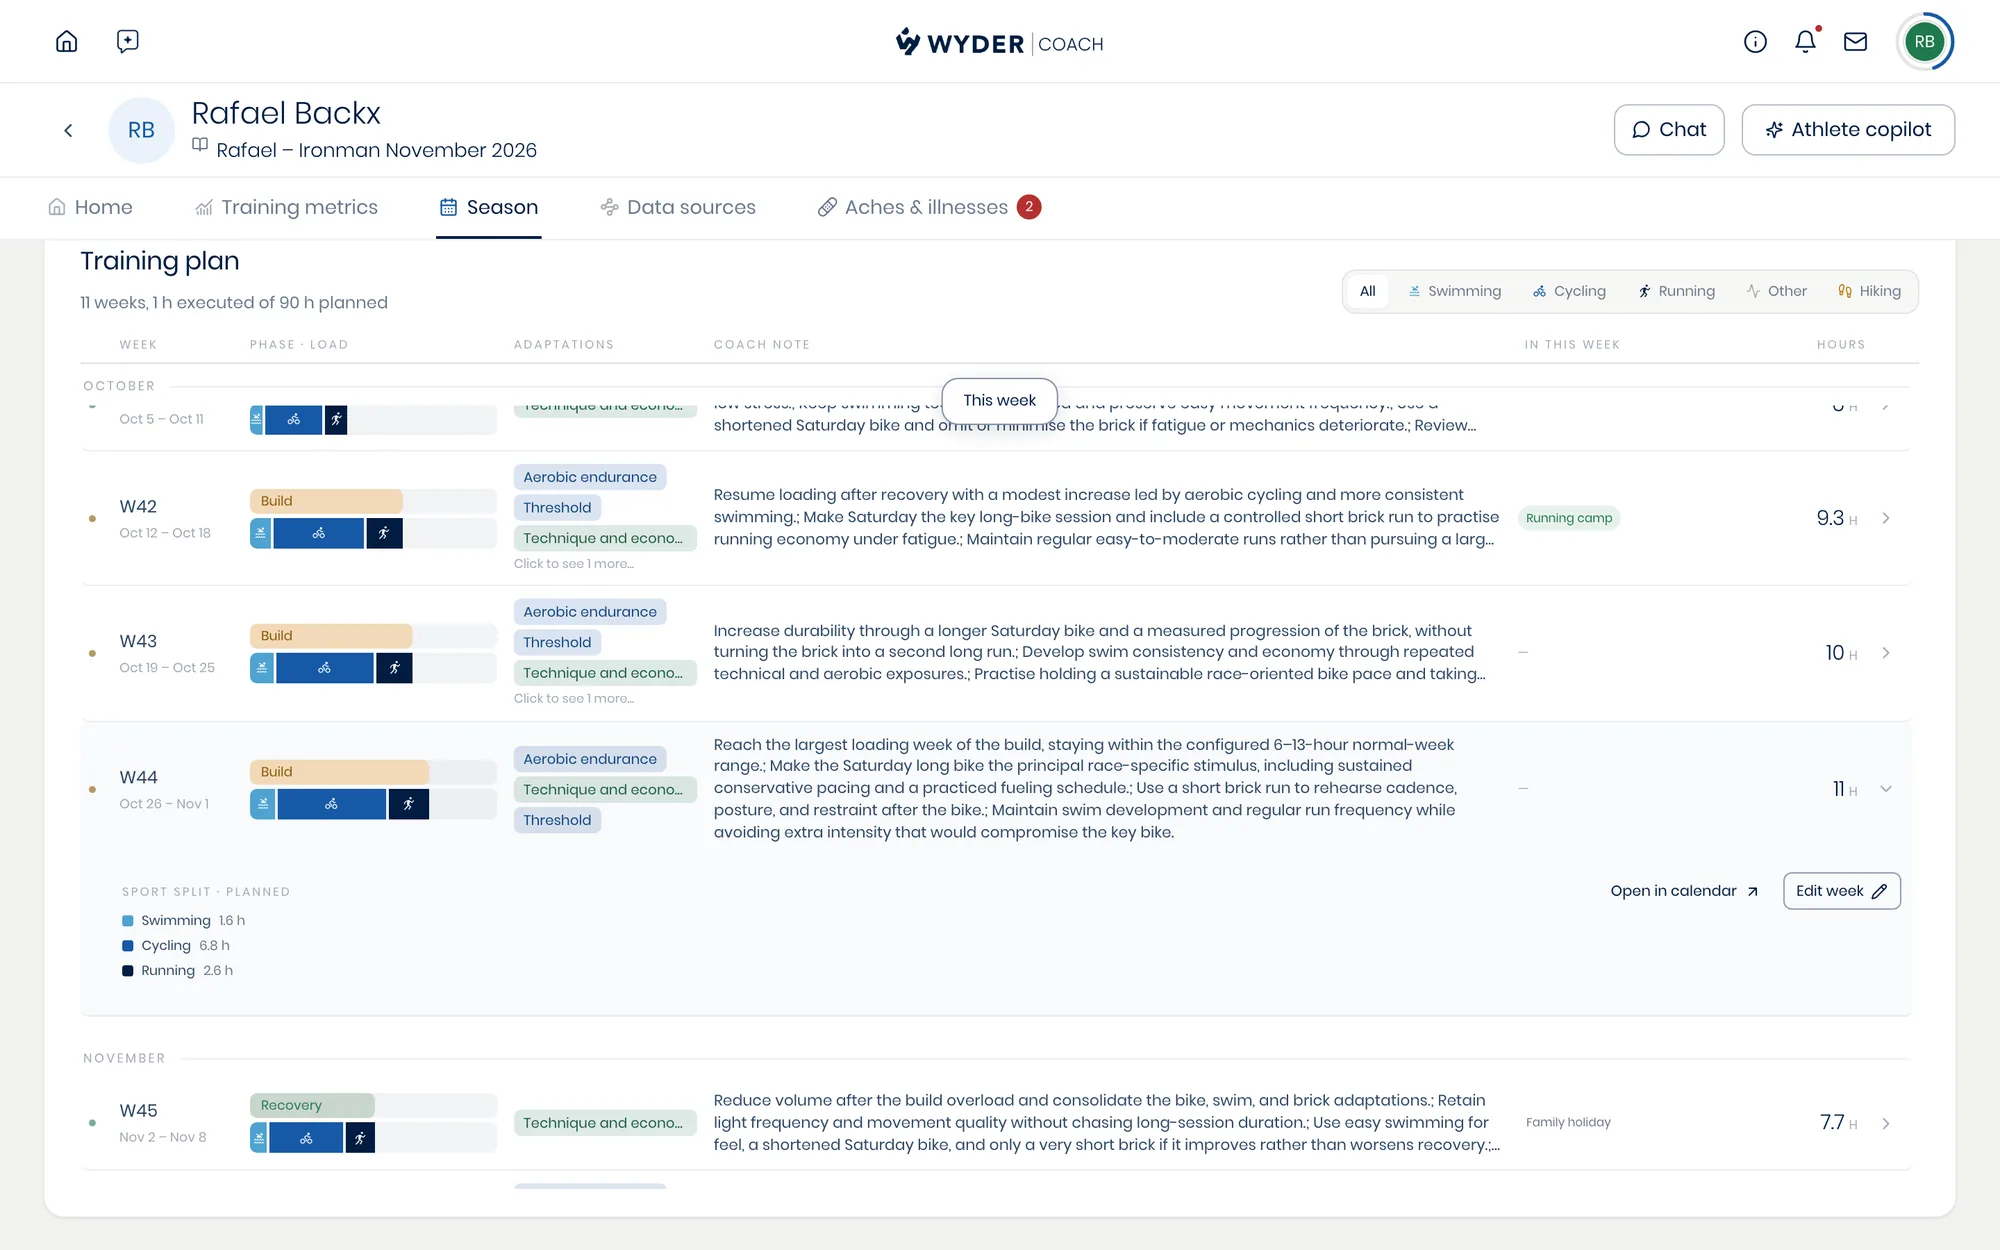
Week by week
Below the map you'll find every week of the year listed, inside the plan and outside it, with its phase and load, the adaptations it trains, your note, and anything the week happens to contain.
Filter the load by sport with the toggle on the right, or open a week to see its sport split and its Season context (if present), which lists any race that week and anything the athlete has flagged in their own calendar. Changing one is covered in Planning a week.